Automatic deployment with GCP
# Automatic deployment with GCP
# Before you begin
- Create a Google Account (opens new window)
- Create a Google Cloud project (opens new window).
- Create a Billing account (opens new window) and enable billing for the Cloud project (opens new window).
- Enable the Compute Engine API (opens new window).
# Deploy
Log in to the Octopus Network mainnet (opens new window) with the NEAR account created in Generate Validator Account.
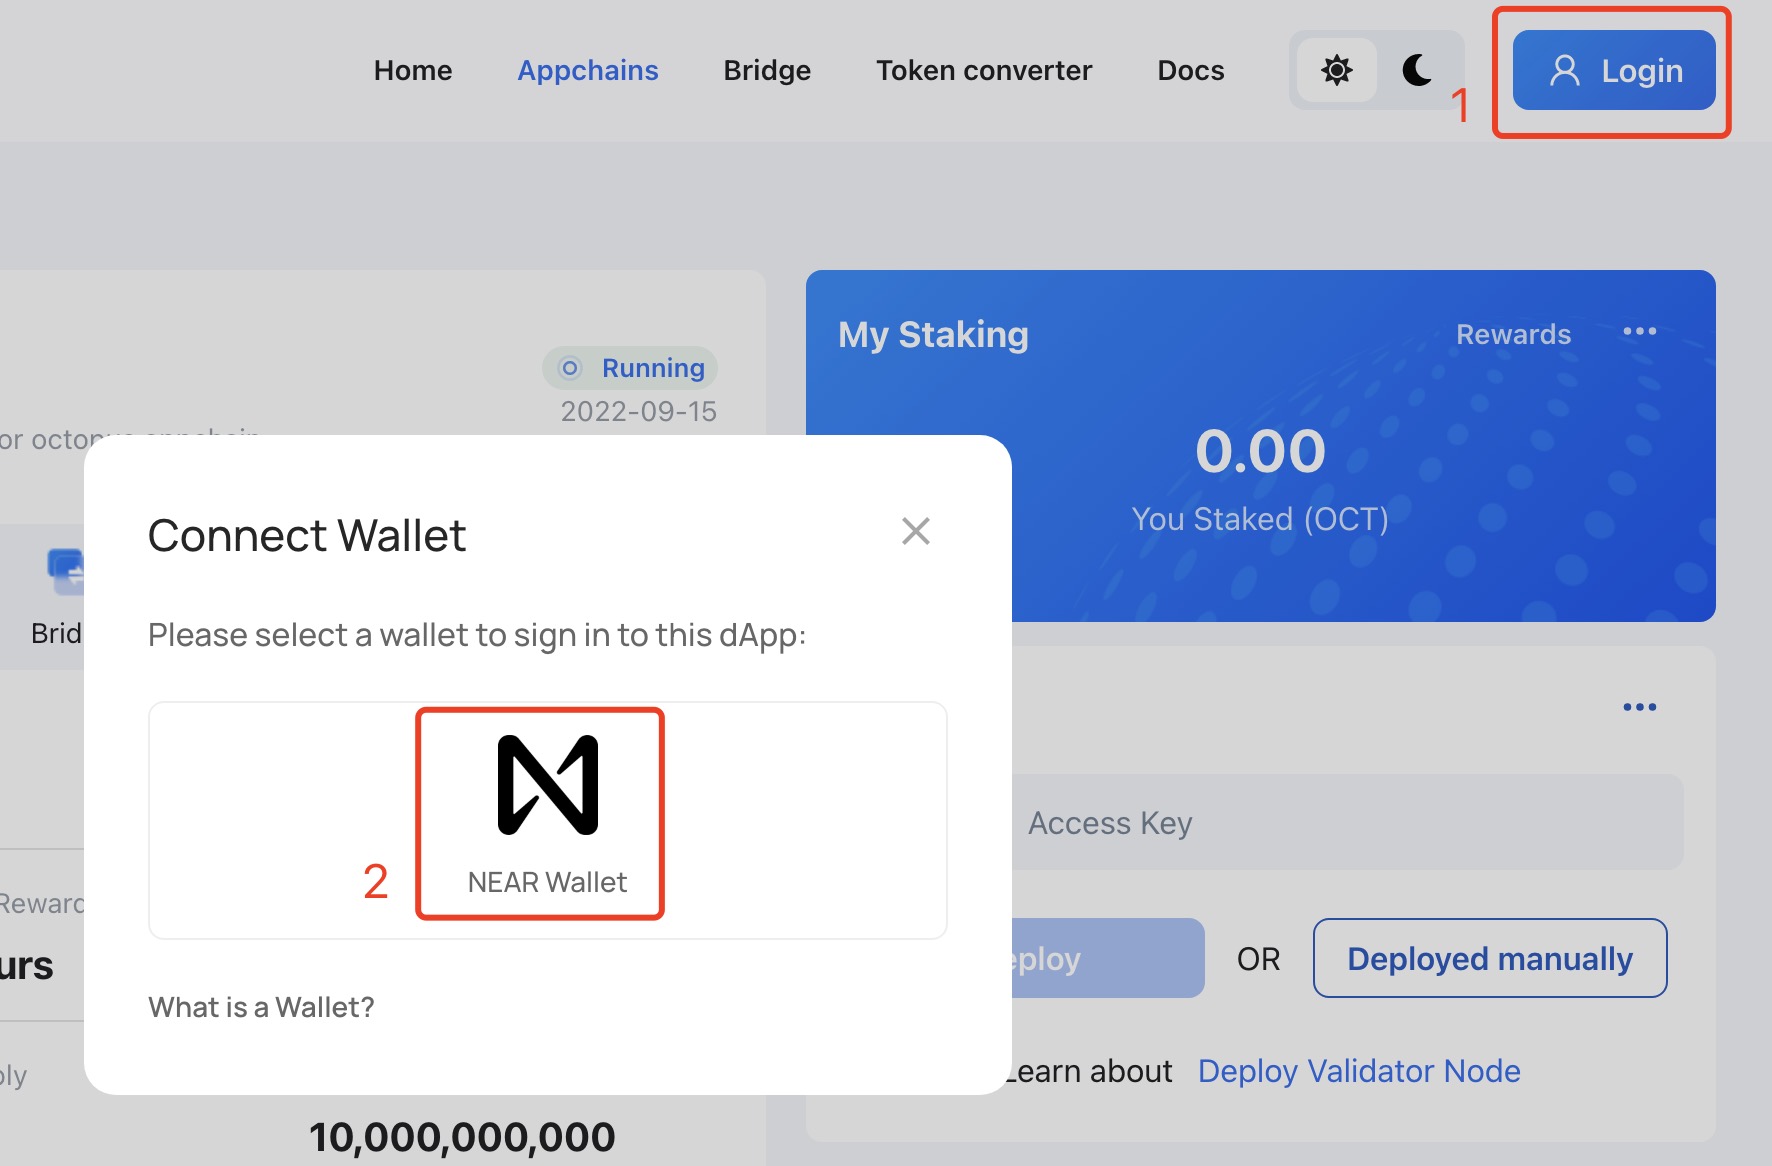
Click the Appchains and select the appchain which would like to be a validator, click it to open the appchain page, then perform the following operations:
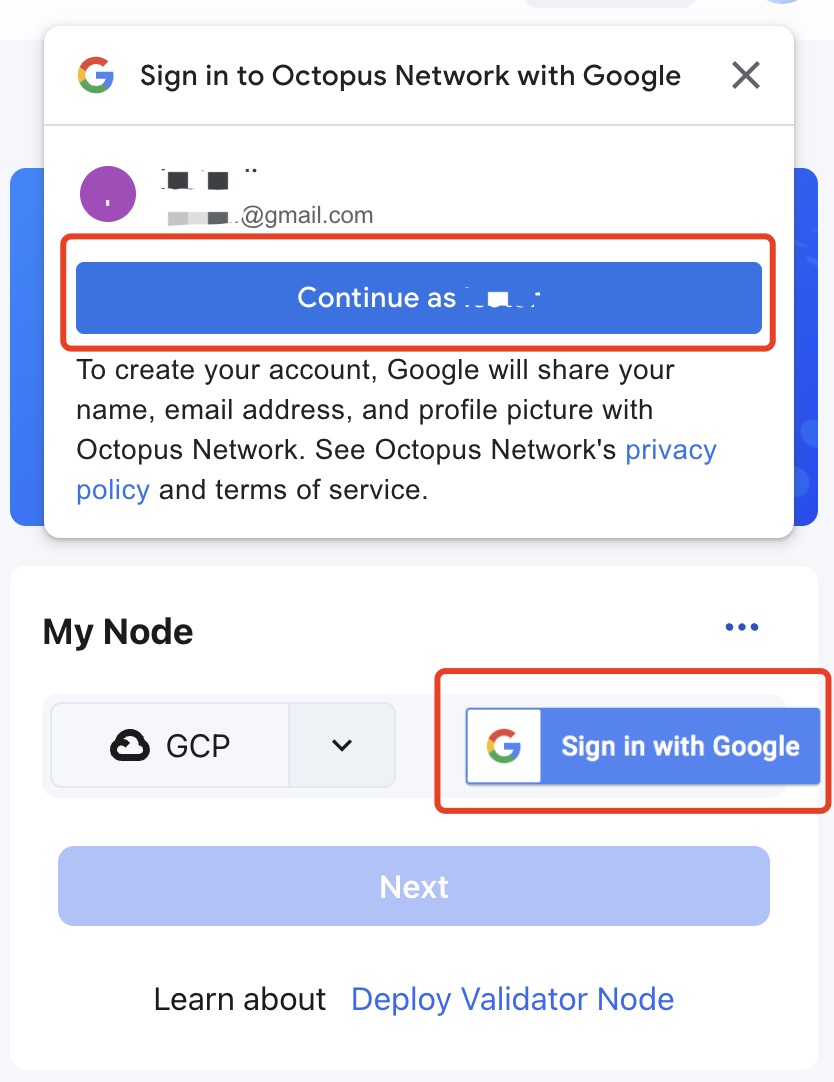
- In the My Node area of the appchain page, select
GCPand login with yourGoogle Account,
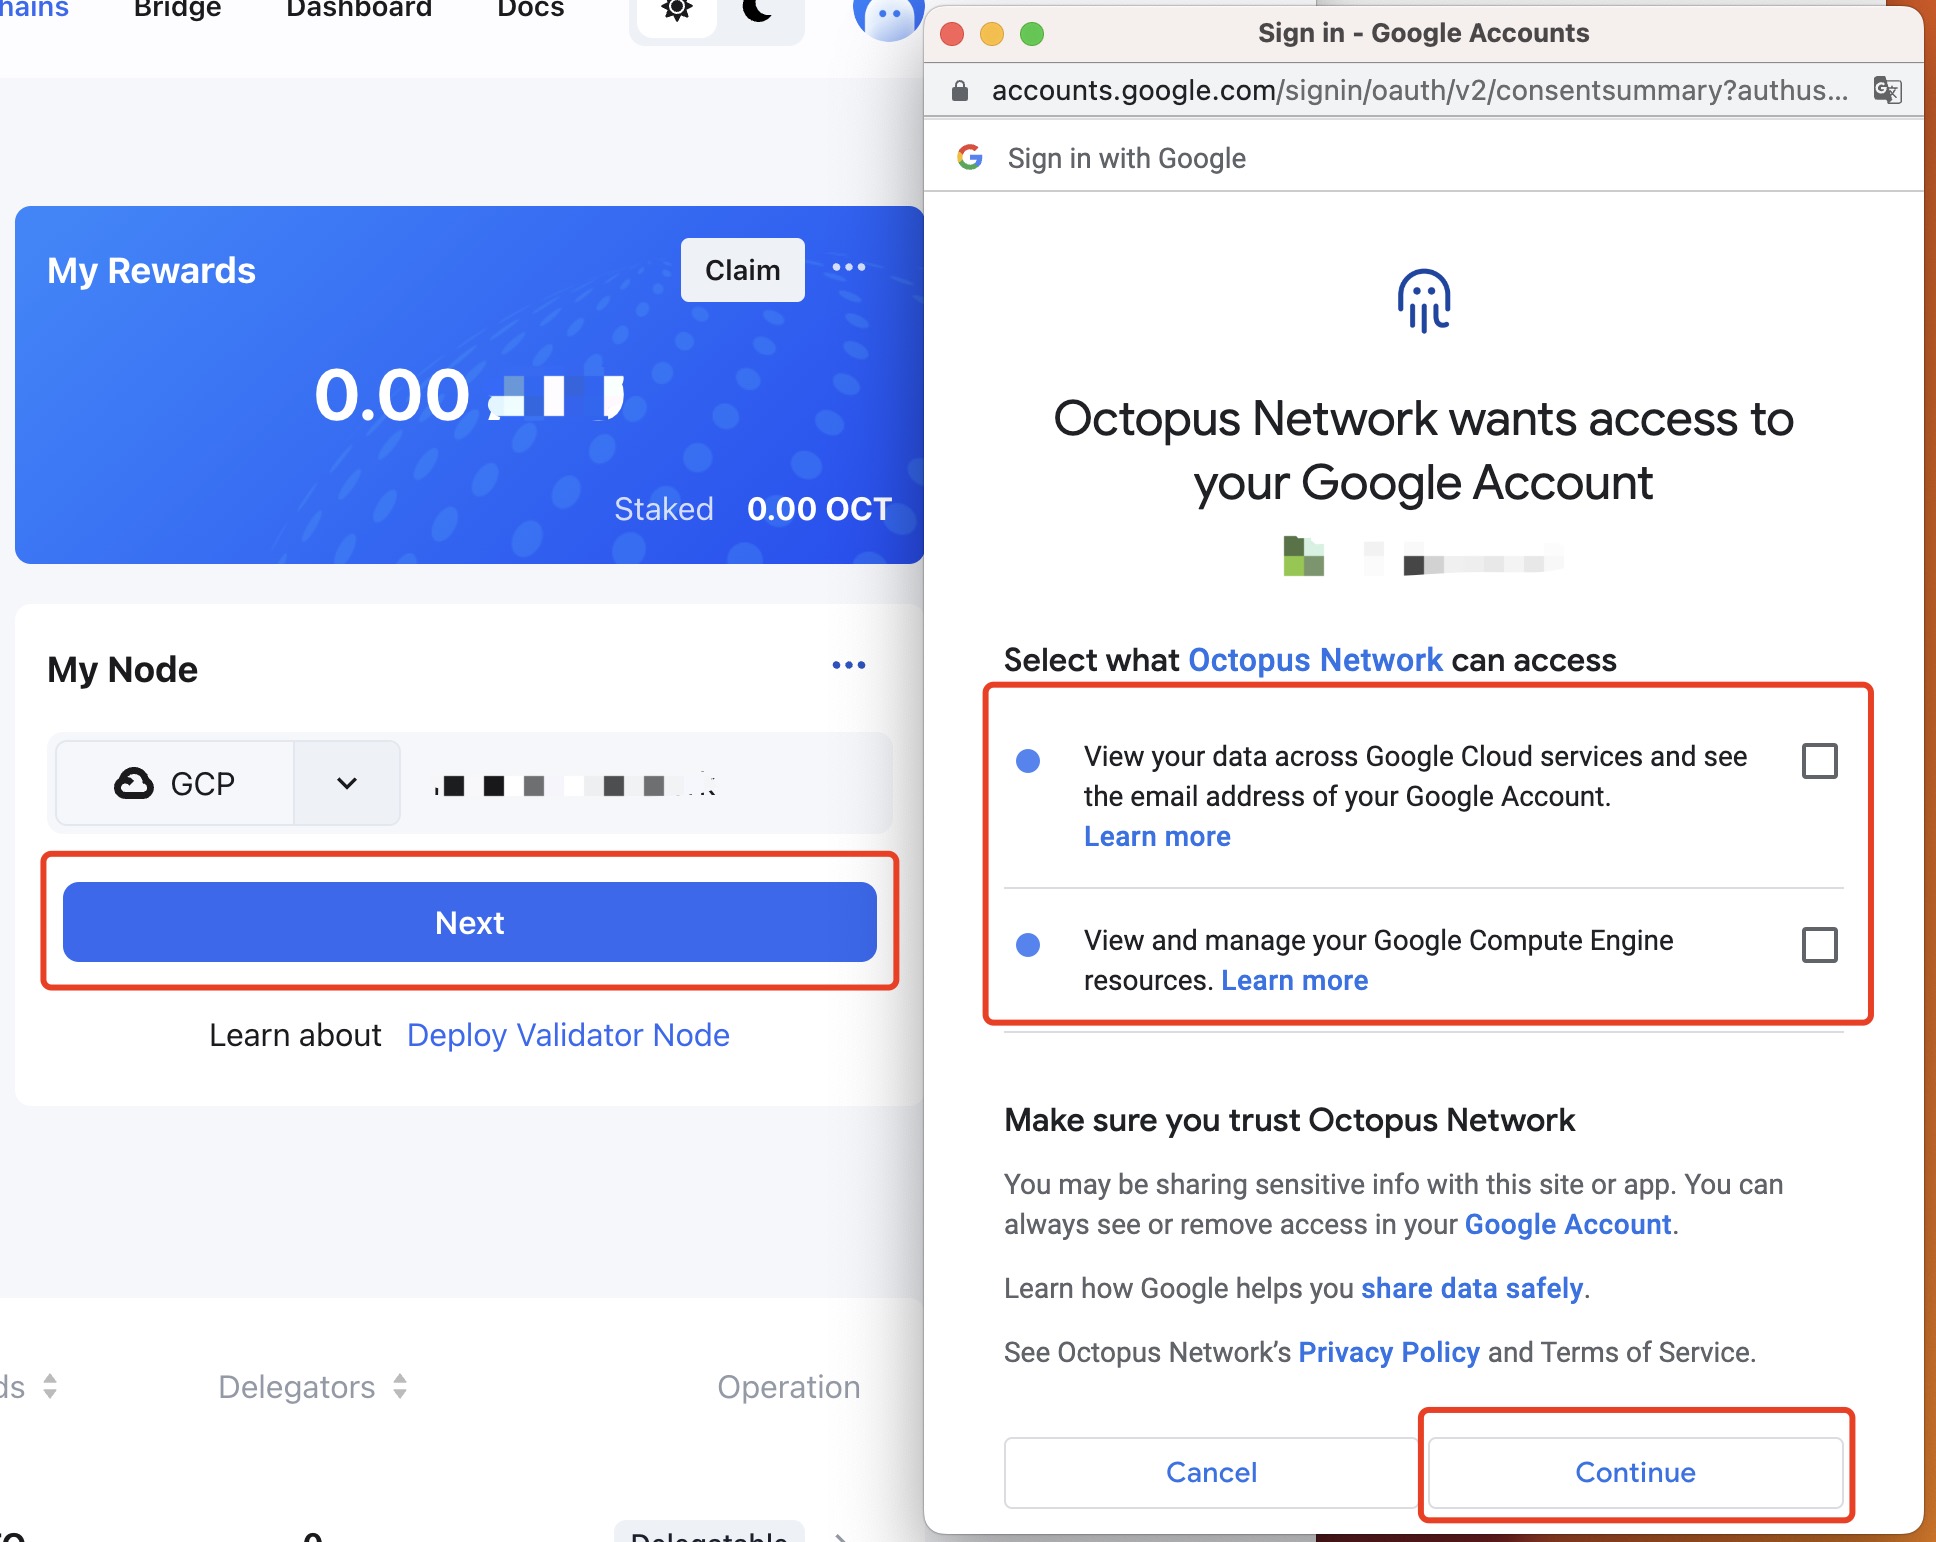
After login, click Next and select the Octopus Network can access and click Continue;
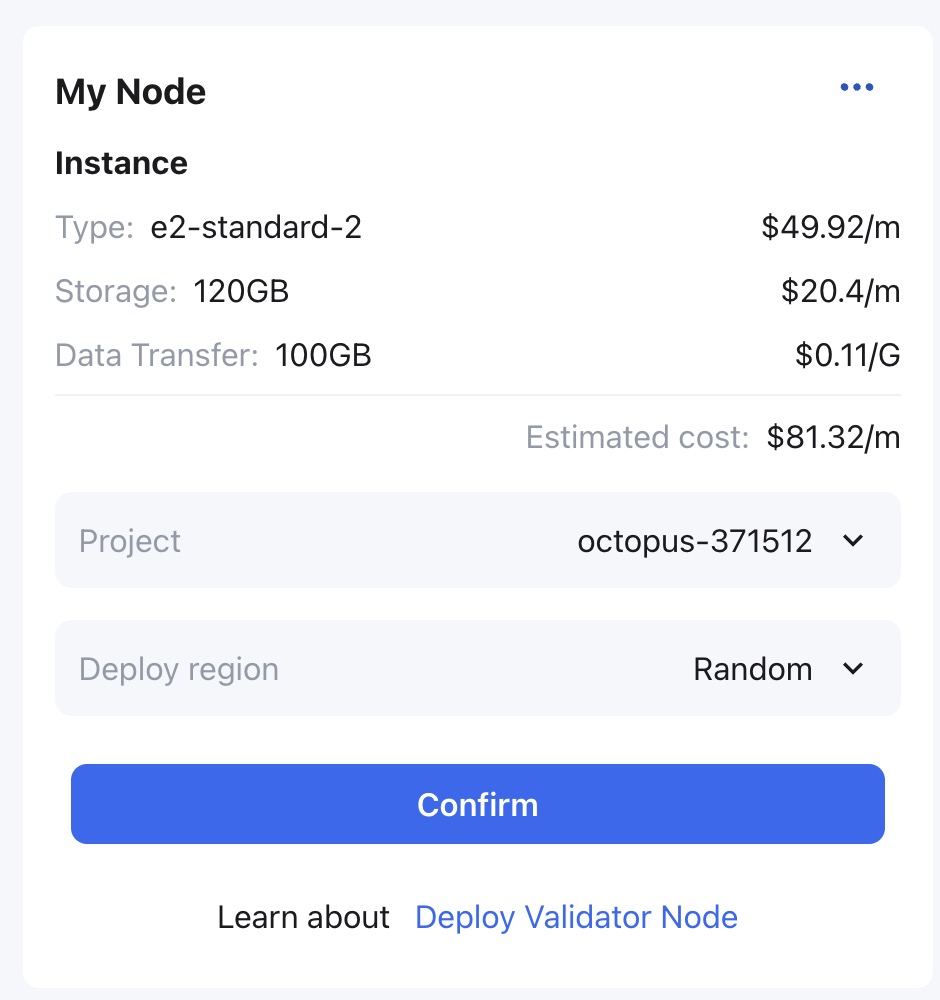
- The deployed GCP instance configuration information and approximate cost will be displayed in the My Node region. After confirmation, select the project and select the deployment area of the instance in the
Deploy regiondrop-down box, then clickConfirm;
- In the My Node area, the node status is
Applyingwhich means the automatic deployment service is deploying the node.
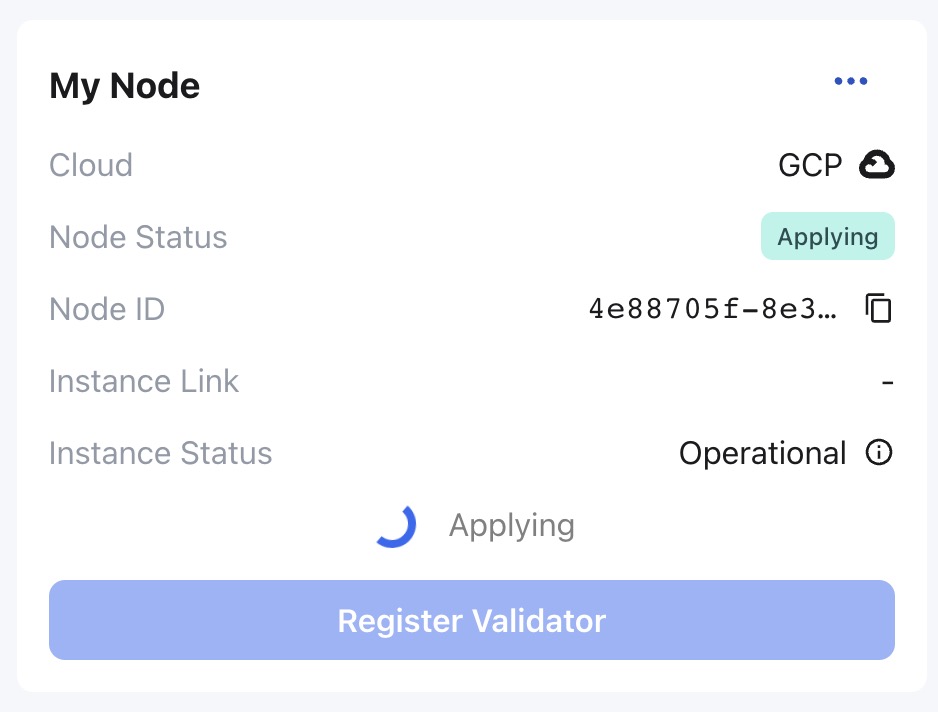
Please wait for about 3~5 minutes, the node status will change to Syncing which means the validator node is synchronizing the block data of the appchain. The earlier the appchain is online, the longer the node synchronization time will be. please wait patiently.
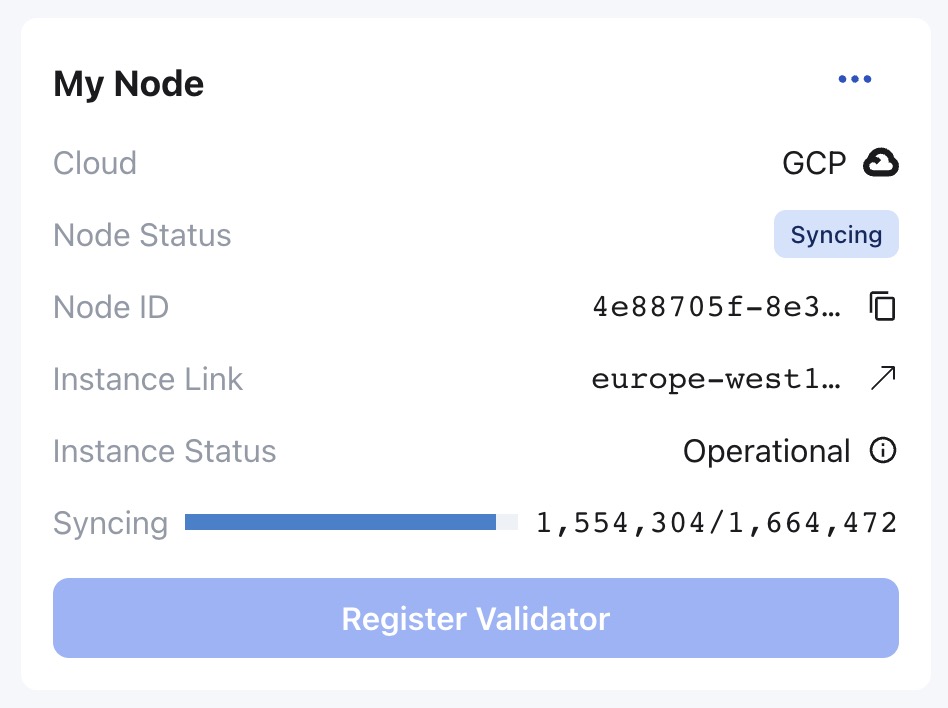
To check the synchronization of nodes, please refer to Monitor Node.
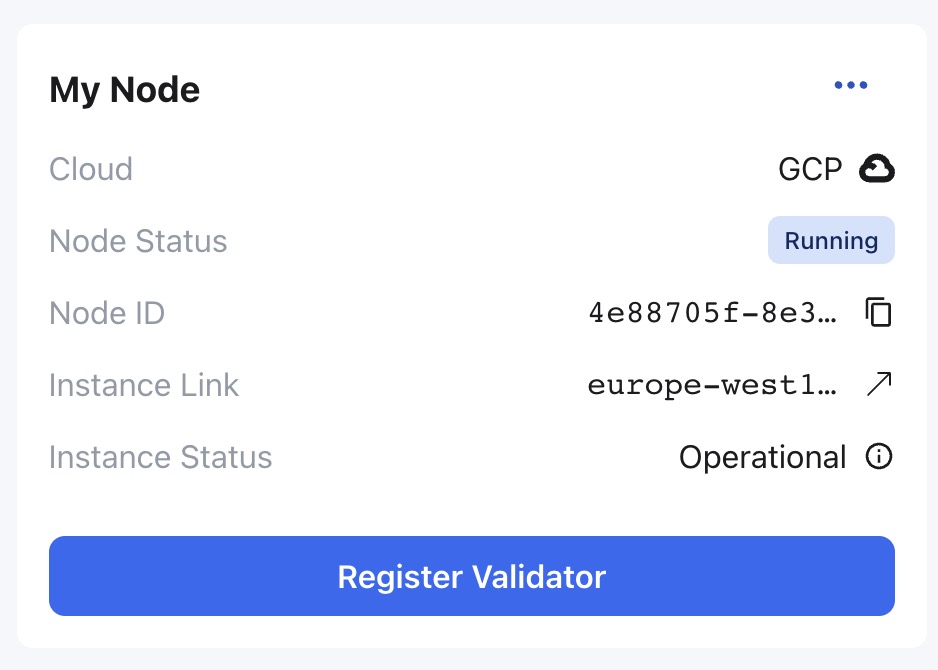
After the node synchronization, the status in the My Node area will change to Running.
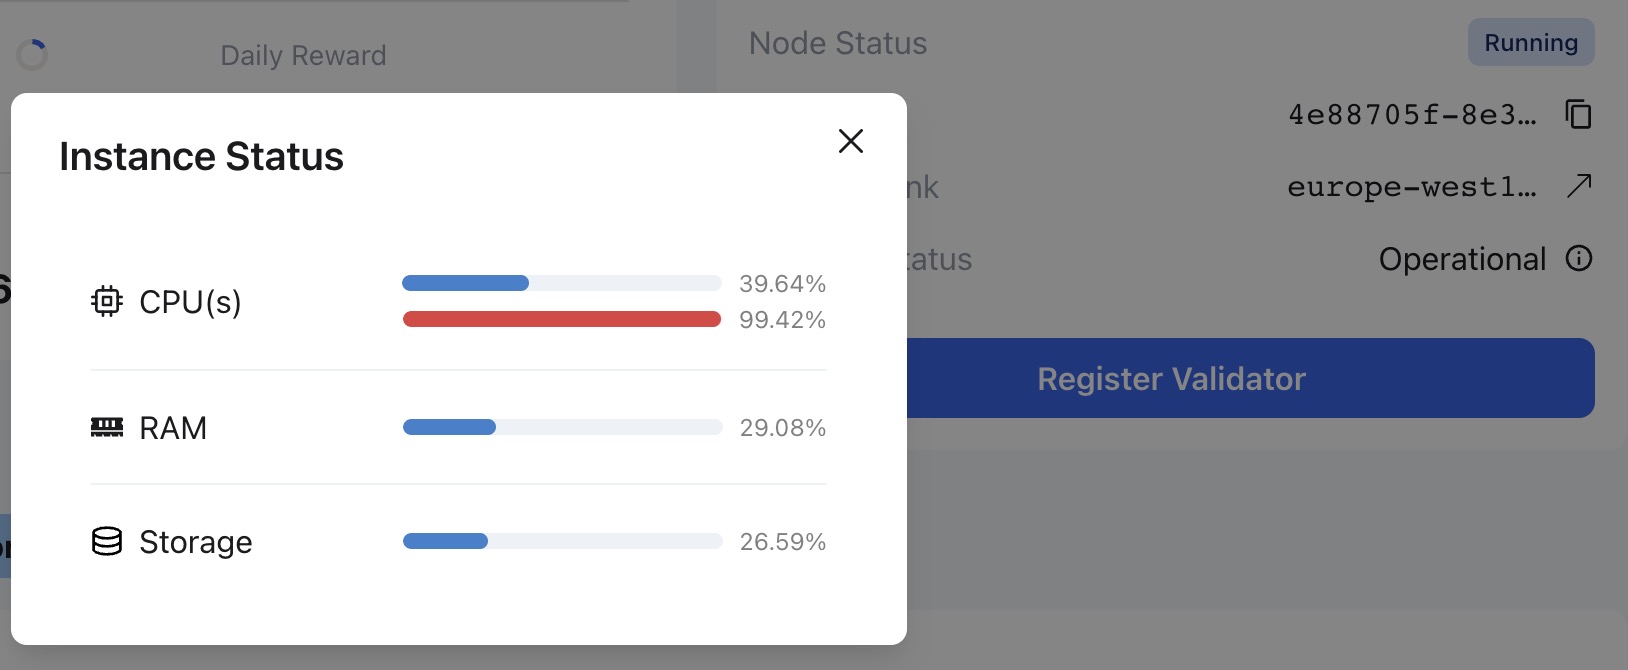
For the automatically deployed validator node, in the My Node area, the validator can click the icon on the right of the Instance Status field to check the instance status information (such as CPU, hard disk, memory) of the running validator node instance.
At the Running status, the validator can proceed to the next step register validator.
